Introduction: A repository manager allows to store and retrieve build artifacts. The most popular examples for repository manager are Maven Central Repository and jcenter, which you can use to retrieve your dependencies for a Maven build. A Nexus installation brings you such a repository for your organization. So, you can host your own repositories, but also use Nexus as a proxy for public repositories. With such a proxy the time to receive an artifact is reduced and it saves bandwidth. Nexus allows you to host your private build artifacts. Nexus is available as commercial and Open-Source distribution.Nexus Repository OSS is an open-source repository that supports many artifact formats, including Docker, Java™, and npm. With the Nexus tool integration, pipelines in your toolchain can publish and retrieve versioned apps and their dependencies by using central repositories that are accessible from other environments.Nexus is a repository manager. It allows you to proxy, collect, and manage your dependencies so that you are not constantly juggling a collection of JARs. It makes it easy to distribute your software. Internally, you configure your build to publish artifacts to Nexus and they then become available to other developers.A Nexus is central source of control. Universally manage all your components, binaries, containers, and build artifacts from development through delivery. Nexus Repository is the single source of truth for all your components and builds across the entire DevOps pipeline.· Improve reliability with repeatable, fast access to dependencies· Streamline developer productivity by enabling the sharing of internally produced components and applications· SAML/SSO authentication with single sign-on experience· Improve speed-to-market and reduce build times with release staging and advanced tagging functionalityIt ensures to developers are utilizing the safe, open-source components. Nexus supports multiple ecosystems and programming languages as below:
Installation of Nexus:
To install the open-source version of Nexus you need to visit Nexus OSS and download the TGZ version or the ZIP version.
If you downloaded the Windows version of Nexus OSS as a zip file.
- Unzip Nexus OSS zip file in folder called <Nexus-Home>
- Go to <Nexus-Home>
- Open command prompt
- Run command “nexus.exe /run”
If you docker image on a Unix system like it did.
- docker pull sonatype/nexus3
- mkdir /opt/docker/nexus-data && chown -R 200 /opt/docker/nexus-data
- docker run -d -p 8081:8081 — name nexus -v /opt/docker/nexus-data:/nexus-data sonatype/nexus3
- /opt/docker/nexus-data is custom directory I created for Mount a host directory as the volume
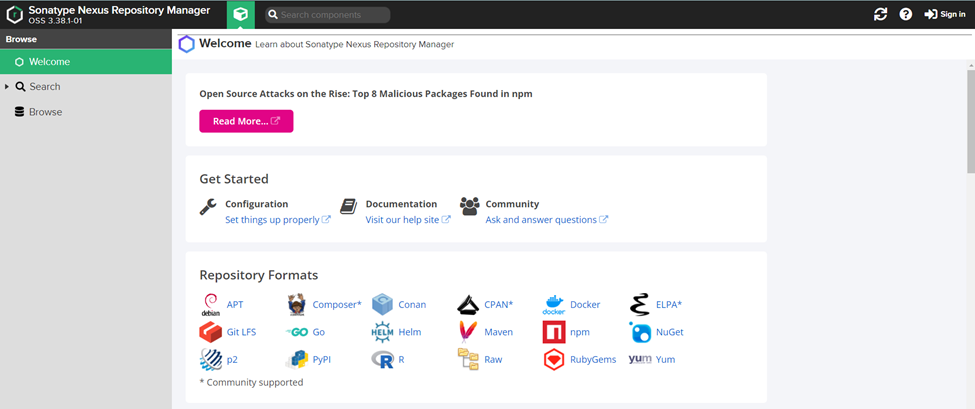
Once the nexus repository manager has been started, its web interface can be accessed under this URL: http://localhost:8081/
Click on Sing with default Credentials as User: admin and Password is stored into /Nexus-Home/sonatype-work/nexus3/admin.password
once you login, New Password window will populate, please reset your new password.
Configuring Nexus as a Maven Repo:
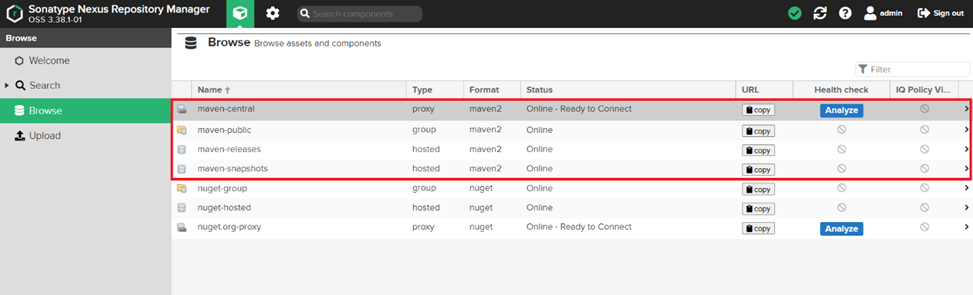
To use Nexus as maven repo we need to create 4 repositories:
- create a private (hosted) repository for our snapshots (maven-snapshots)
- create a private (hosted) repository for our releases (maven-releases)
- create a proxy repository pointing to Maven Central (maven-central)
- create a group repository to provide all these repos under a single URL (maven-public)
If these repos are not available by default in nexus repository, you need create a new blob store for each new repo you want to create. That way, the data for every repo will be in a different folder in /nexus-data (inside the Docker container). But this is not mandatory for it to work.
Configuring Nexus repos in Maven:
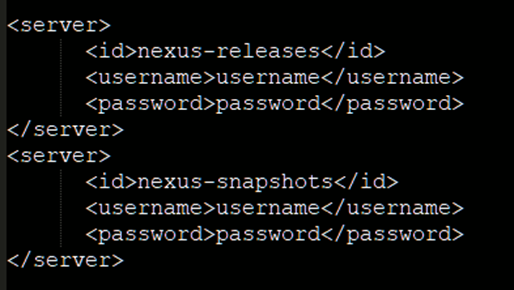
Update Setting.xml file in .m2 folder. The credentials used for the deployment are found in the server section of your settings.xml. In the example below server contains nexus as the id, along with the default username and password
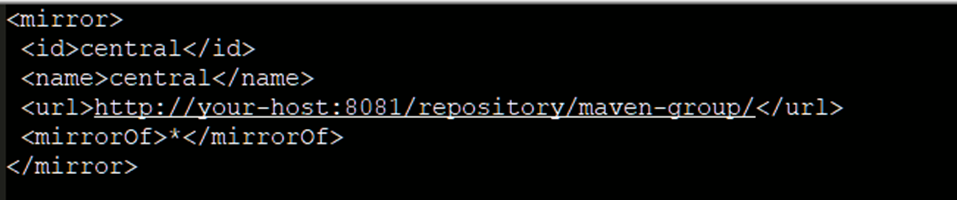
Add below lines under <mirrors>
The mirrorOf pattern of * causes any repository request to be redirected to this mirror and to your single repository group, which in the example is the public group.
It is possible to use other patterns in the mirrorOf field. A possible valuable setting is to use external:*. This matches all repositories except those using localhost or file-based repositories. This is used in conjunction with a repository manager when you want to exclude redirecting repositories that are defined for integration testing. The integration test runs for Apache Maven itself require this setting.
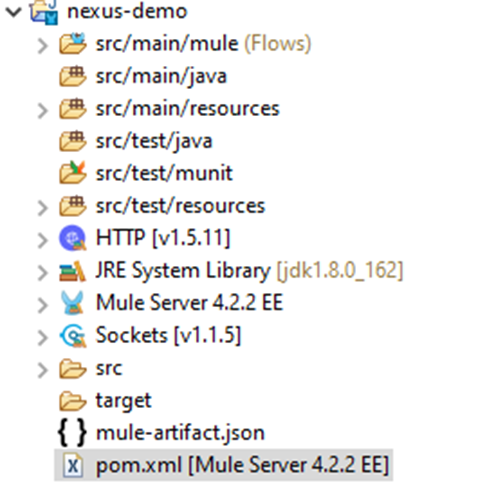
Configure Mule Project
If you want only to download dependencies from Nexus, add below lines under project/repositories in project’s pom.xml

Project POM.xml

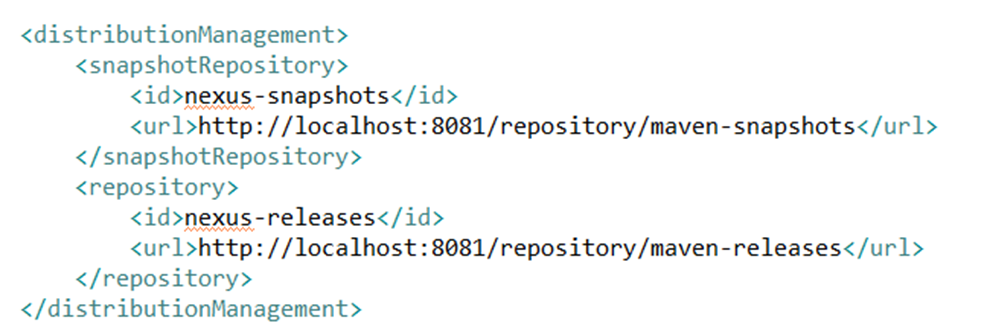
And if you also want to publish your project, add below lines under project/distributionManagement in project’s pom.xml.

Deployment to a repository is configured in the pom.xml for the respective project in the distributionManagement section. Using the default repositories of the repository manager:
Publish the Common Library to the Anypoint Exchange
You just need to execute the “mvn deploy” command to publish any assets or libraries to the Nexus.
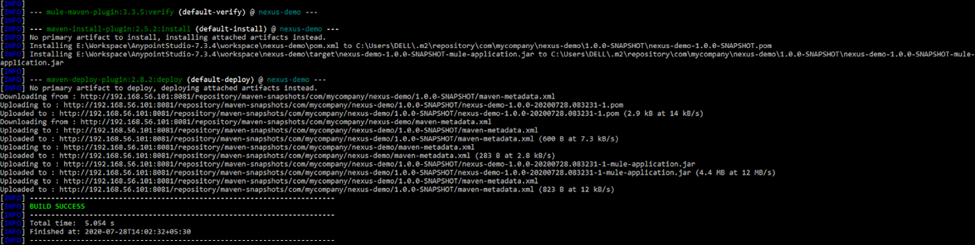
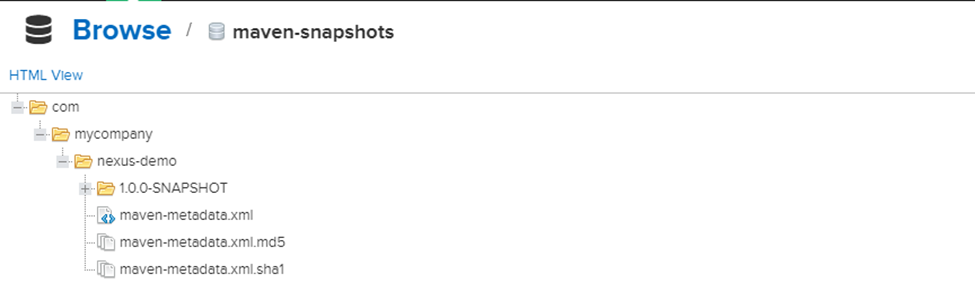
Once the Build is success, you can see the jar in maven-snapshots repository as below:
Conclusion:
In this blog, we learned how to create a Nexus Repo in Mule 4. pom.xml version contains SNAPSHOT version that’s the reason it got uploaded in maven-snapshots repository. Else it will be uploaded in maven-releases repository.