Introduction:
Twilio is a cloud-based infrastructure as a service (IaaS) that enables the communication between mobile devices, applications, services, and systems throughout the business to bridge the gap between conventional communication.
Using Twilio, we can programmatically make and receive phone calls, send, and receive text messages, and perform other communication functions using its web service APIs. Even though we have Twilio Connectors in Mule it is calling the Twilio SMS API (REST API).
The Anypoint Twilio connector offers instant Twilio API connectivity, providing users with a simple way to interface with the Twilio API. With API connectivity to Twilio’s REST API, users can send SMS messages through Twilio. With Twilio, sales, marketing, and services teams can be more mobile and easily connect to customers at any time, through various mobile platforms. Moreover, with the MuleSoft Twilio connector, integration between Twilio and other popular business applications within the organization such as Salesforce, Twitter, and more – can be implemented quickly and easily from within the MuleSoft Anypoint Platform.
Pre-requisite:
To use this connector, you must be familiar with:
- The Twilio Messaging API
- Anypoint Connectors
- Mule runtime engine (Mule)
- Elements and global elements in a Mule flow
- Creating a Mule app using Anypoint Studio (Studio)
Before creating an app, you must have:
- An active Twilio trial or paid account
- Credentials to access the Twilio target resource
Twilio Account Creation and Setup:
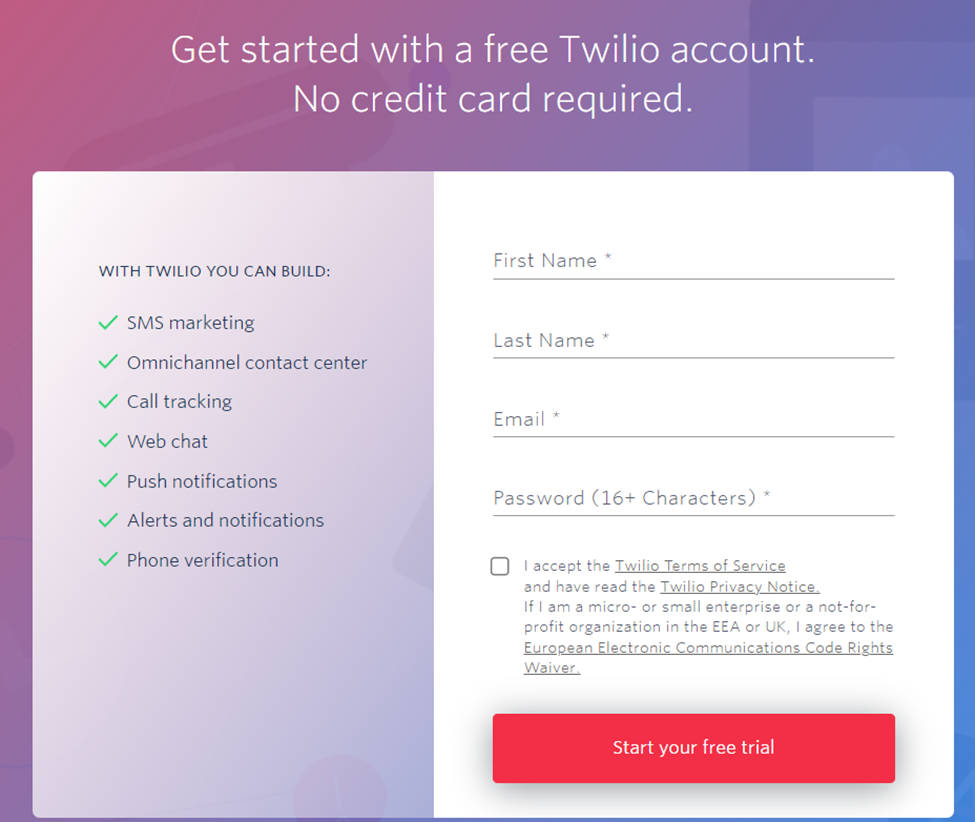
To use the Twilio Connector, you must have an active Twilio account (Either Free or Premium). To Create an Twilio account, go to the URL: https://www.twilio.com/try-twilio
Note: The Trial Account is valid up to days of creation, post that the trial account will expire.
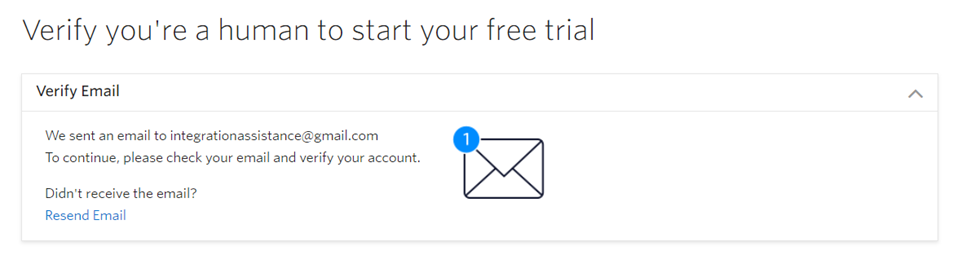
Once you create the account, please verify the email as the Twilio will send the email for account confirmation
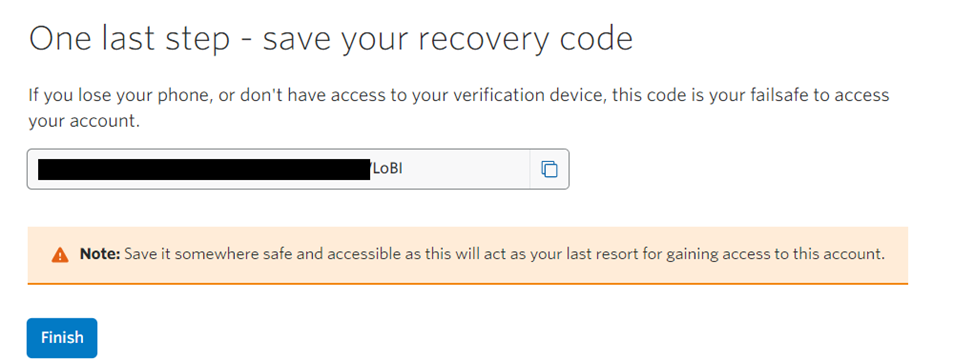
Once Email Account is verified, please update the Phone number and at last save the recovery code somewhere safe and accessible as this will act as your last resort for gaining access to this account.
Once All steps Done for verification, please open the Twilio Portal Console.
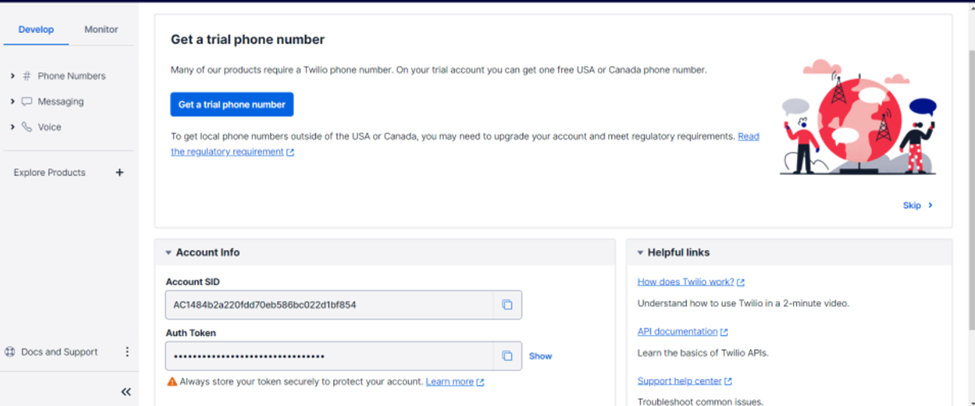
Here you’ll have the Account SID and Auth Token which is needed in the later implementation. And also, you can request a Trial phone number.
Registering Mobile Number
You can register phone numbers to which you need to send notifications. For that, go to the Phone Numbers Develop palette and select verified caller IDs.
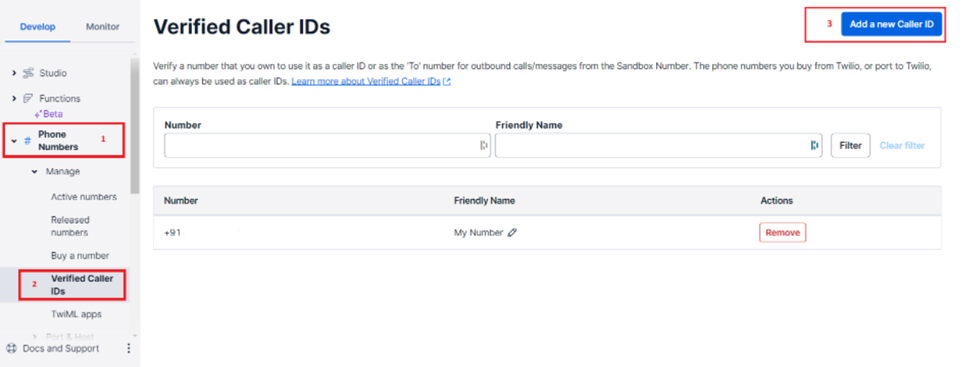
Then click on Add a new caller ID and put your phone number. It will verify the number with an OTP and you’re good to go.
AnyPoint Setup:
Step 1: Open the Anypoint Studio -> create New Project.
Step 2: we must import the Twilio Connector Module from the Exchange.
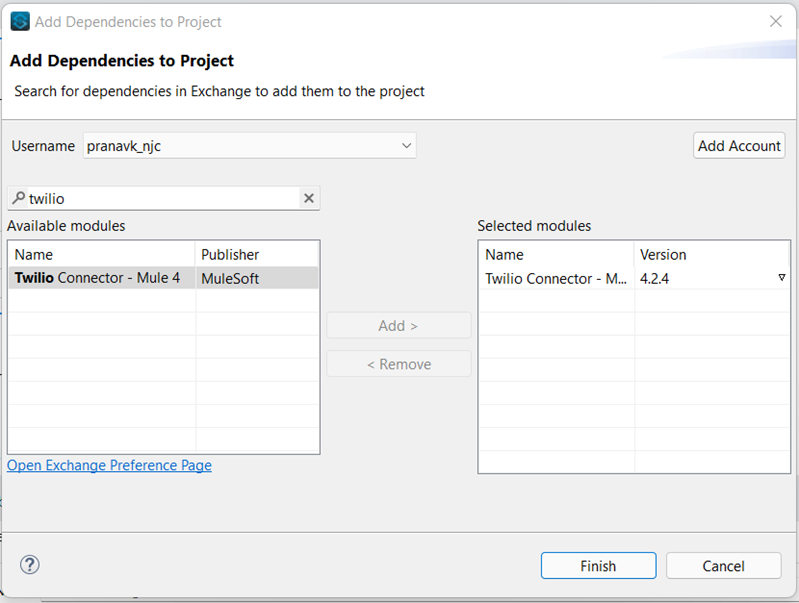
Select the latest version and click Finish.
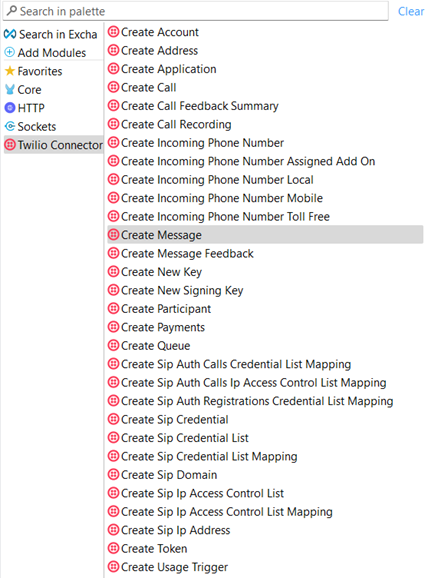
Step 3: In Mule, we have a lot of operations with Twilio, and you can see all of them listed. We are going to send a message to the phone number which we already verified. So, drag and drop the Create Message connector into the canvas.
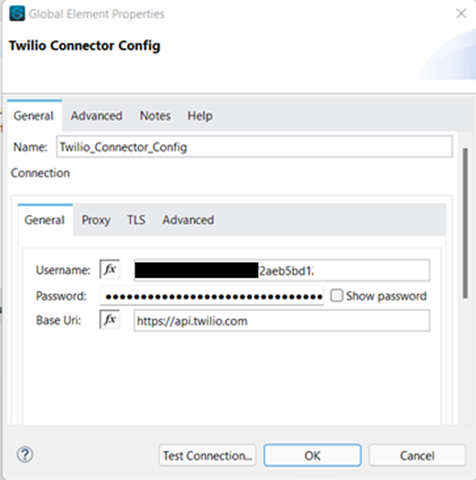
Step 4: Then we must set up the configuration for the connector. For that, we only need to provide the Account SID as username and Auth Token as the password.
Step 5: The Create connector is calling the Twilio REST API behind the hood. To connect to the API, we need to pass the Account SID and payload in the Properties Editor tab.
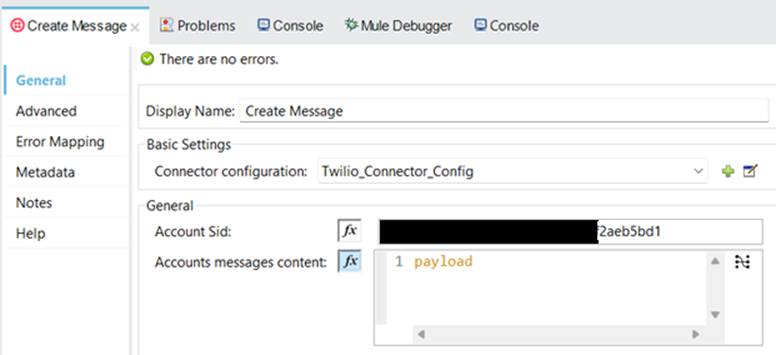
The Twilio REST API is expecting a type of payload. So, we must define the payload.
Step 6: Drag and drop a Transform message just before the Twilio Connector and observe the output side of the Transform message.
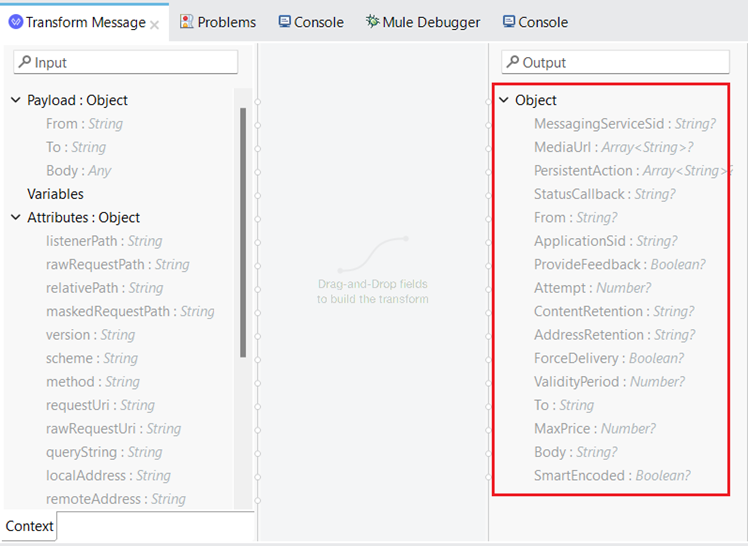
From here we can select the appropriate inputs to our REST API call. Either we can select all these types or the necessary one.
For this case, I’m passing the target phone number as the URI parameters and in the body, I’m just passing the message.
%dw 2.0
output application/x-www-form-urlencoded
—
{
From: p(‘twilio.sourceNumber’),
To: “+” ++ attributes.uriParams.toNumber as String,
Body: payload.message
}
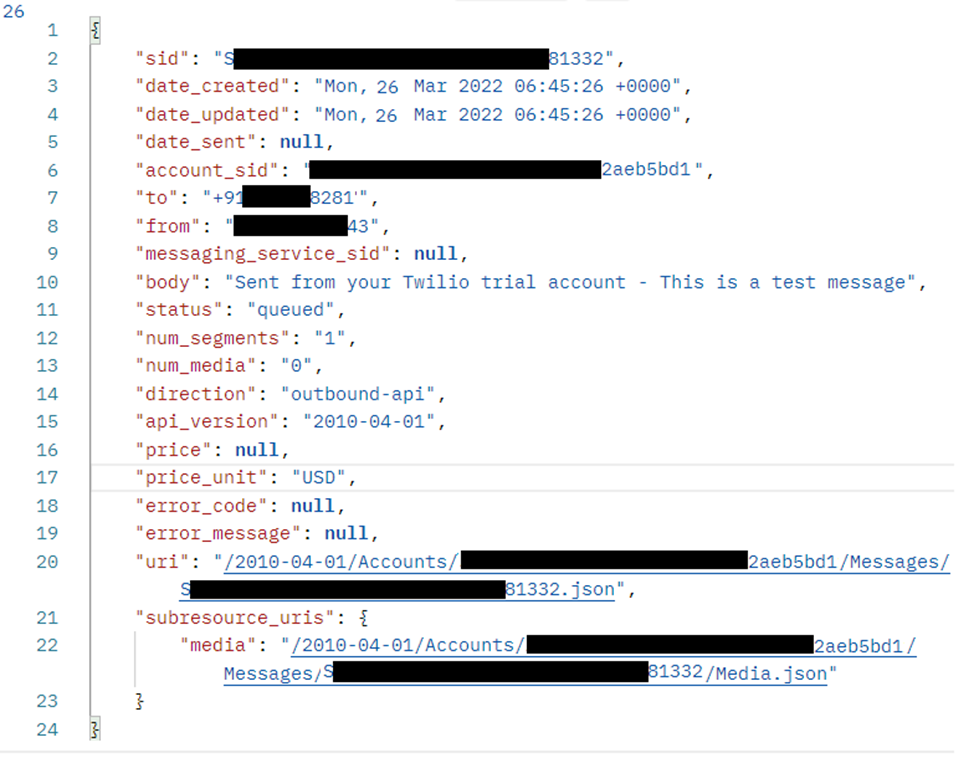
And after the Twilio connector add a JSON conversion for the payload.
Now we are good to hit the application. Given below will be the response from the Twilio API
Making Phone calls using Twilio
We can also use Twilio REST API to make phone calls. Twilio uses programmable voice to make phone calls. We must set up some configurations in the Twilio console. Go back to the Twilio console.

Since we already have a trial number, we don’t need to configure another one. So, we can go to step 2 and confirm the programming language. Here we are selecting Java as the language.
In Step3 go to the Architecture Diagram below:
Now we are set to implement it in Studio.
Set an HTTP Listener and drag and drop the Create Call connector. Select the connector configurations and give the Account SID in the Properties editor tab.
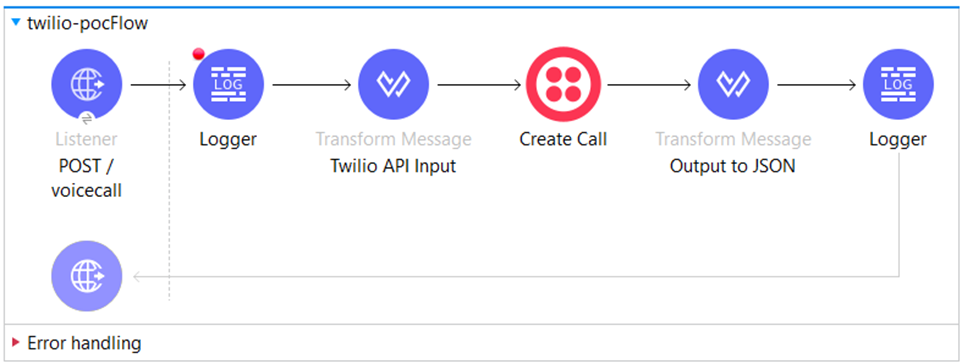
We must provide the input parameters for the connector, so I’ve added a Transform message and we must pass the URL and target number.
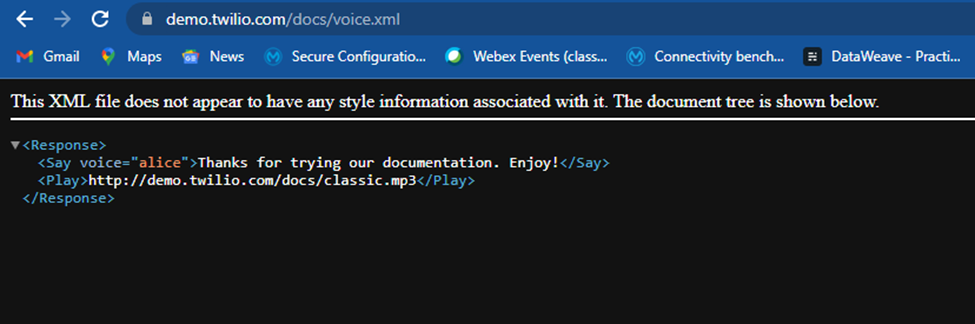
We are specifying a URL in our request. So Twilio will make an HTTP Request to this URL to retrieve a TwiML to handle the call.
TwiML
TwiML (the Twilio Markup Language) is a set of instructions you can use to tell Twilio what to do when you receive an incoming call and SMS. Now we can run the application. The target number will receive a phone call which will read the message given in the voice.xml file.